
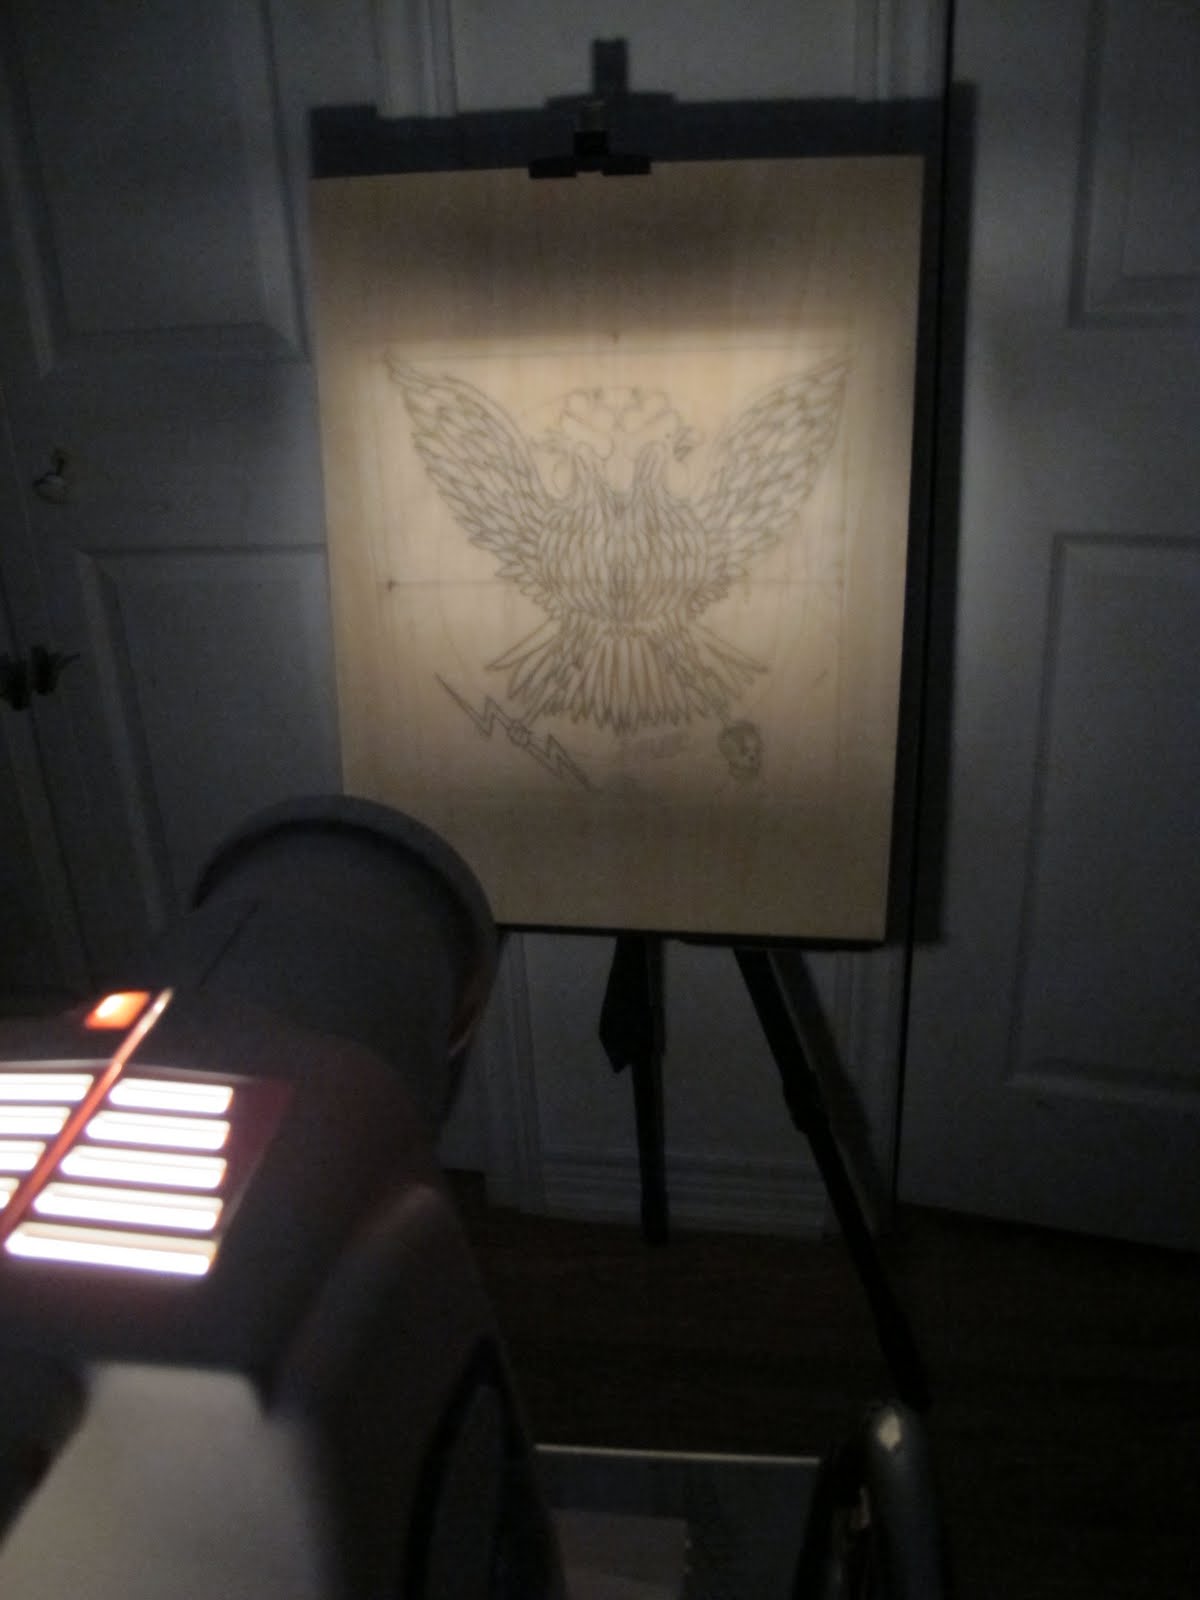
drawing on parchment, grid behind on paper
astral projection

markered up

detail

more detail

s'more detail

fini

let's get into cutting. This is the desk set up at the studio. ELO's "A New World Record" blaring in the background
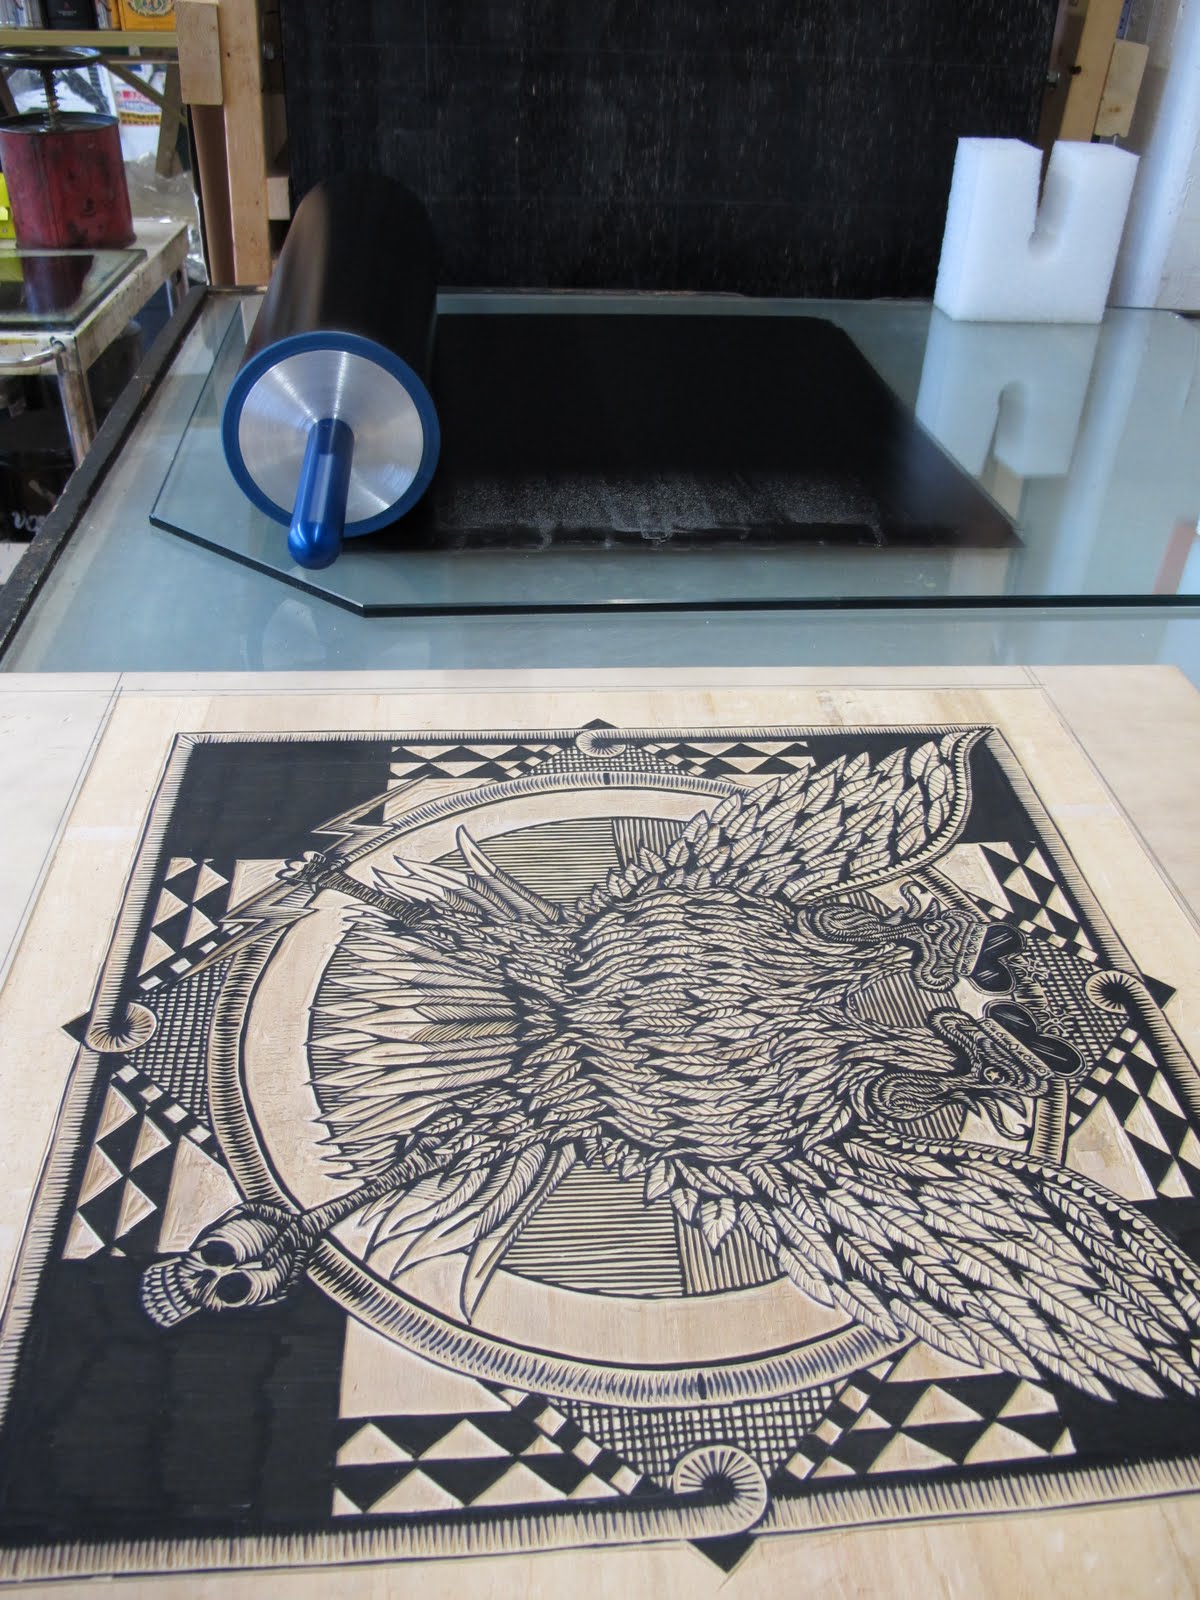
Finished block, and what's that back there? A new giant mother brayer? Hells yes, it is!

Steven D Rollings, asking the heavens for inspiration

My brother, Jonathan Eduard Näf, simply the coolest guy I know. He's cutting plates for my upcoming etching series.

A happy man with a scoundrel's mustache and a finished block ready to go.

The stuff dreams are made of

elbow grease

havin' at 'er

inking the block

Placing le papier
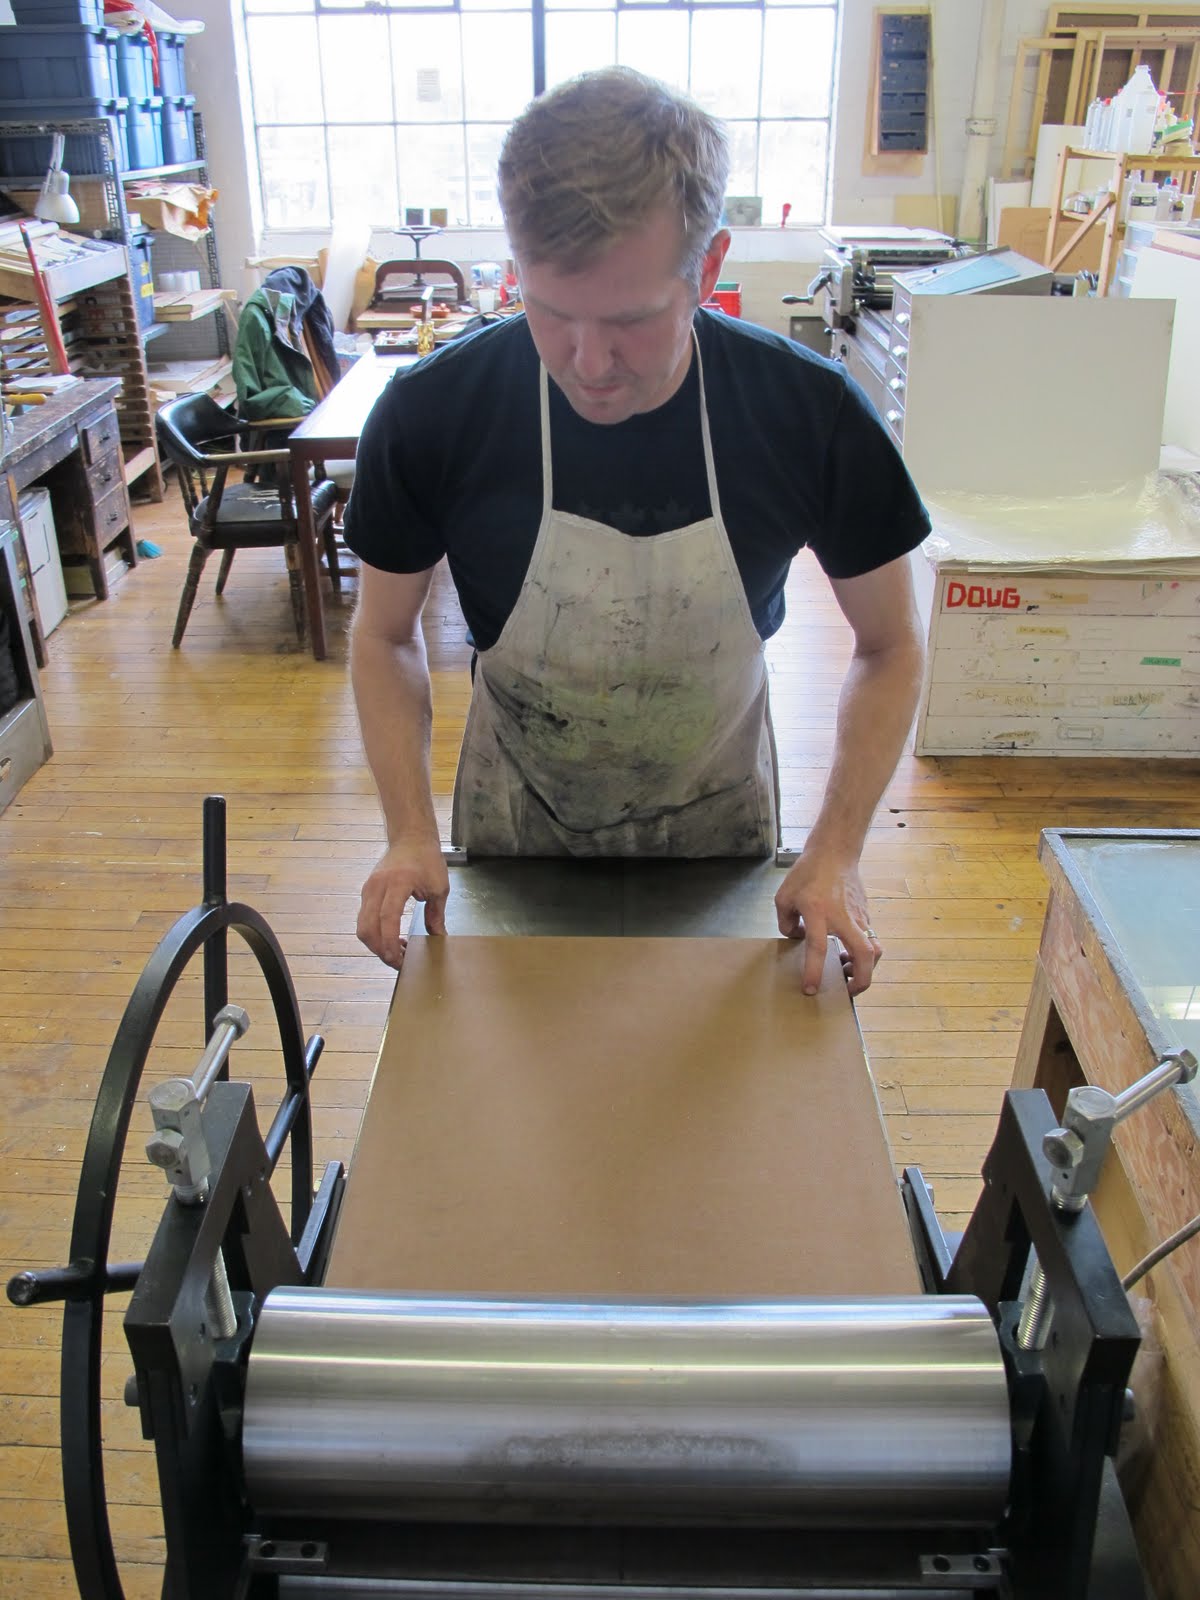
On the bed

...and through the press she goes

pull!

Finished product. I printed half on 110 grm stonehenge and half on Kozuke. Both worked great.


